 |
 |
 |
Battle of Yavin (76)Full unit name: Battle of YavinLast updated: 30.07.2024 20:56:16Version: 8.02.002.2024.01.13 |
Navigation (21)
- Back to Top
- OFF - Characters (1)
- OFF - Vehicles (10)
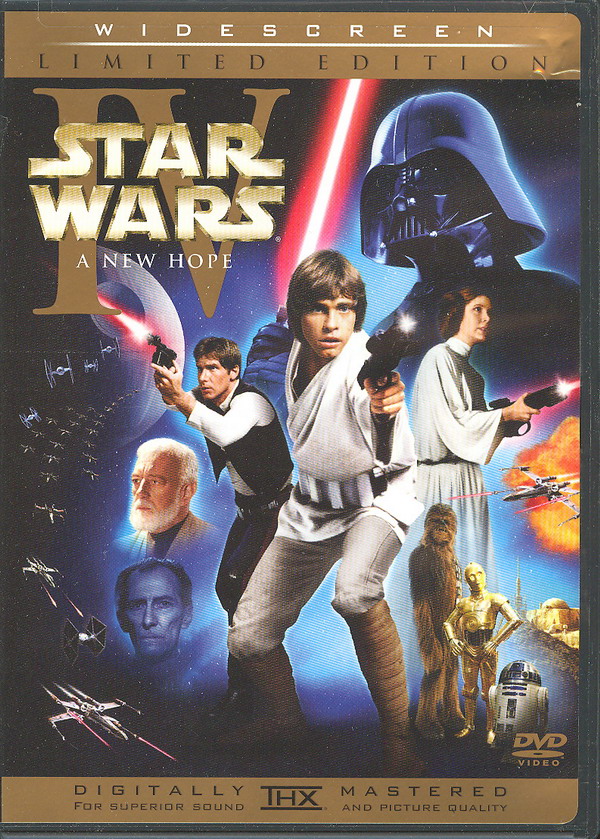
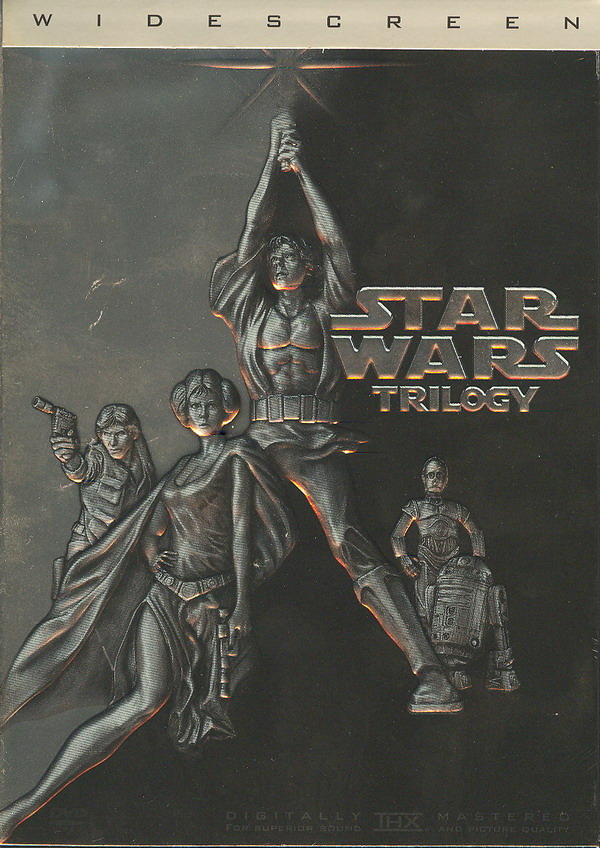
- Movies, Animated Moves, Video Games (3)
- Misc. Collectibles (4)
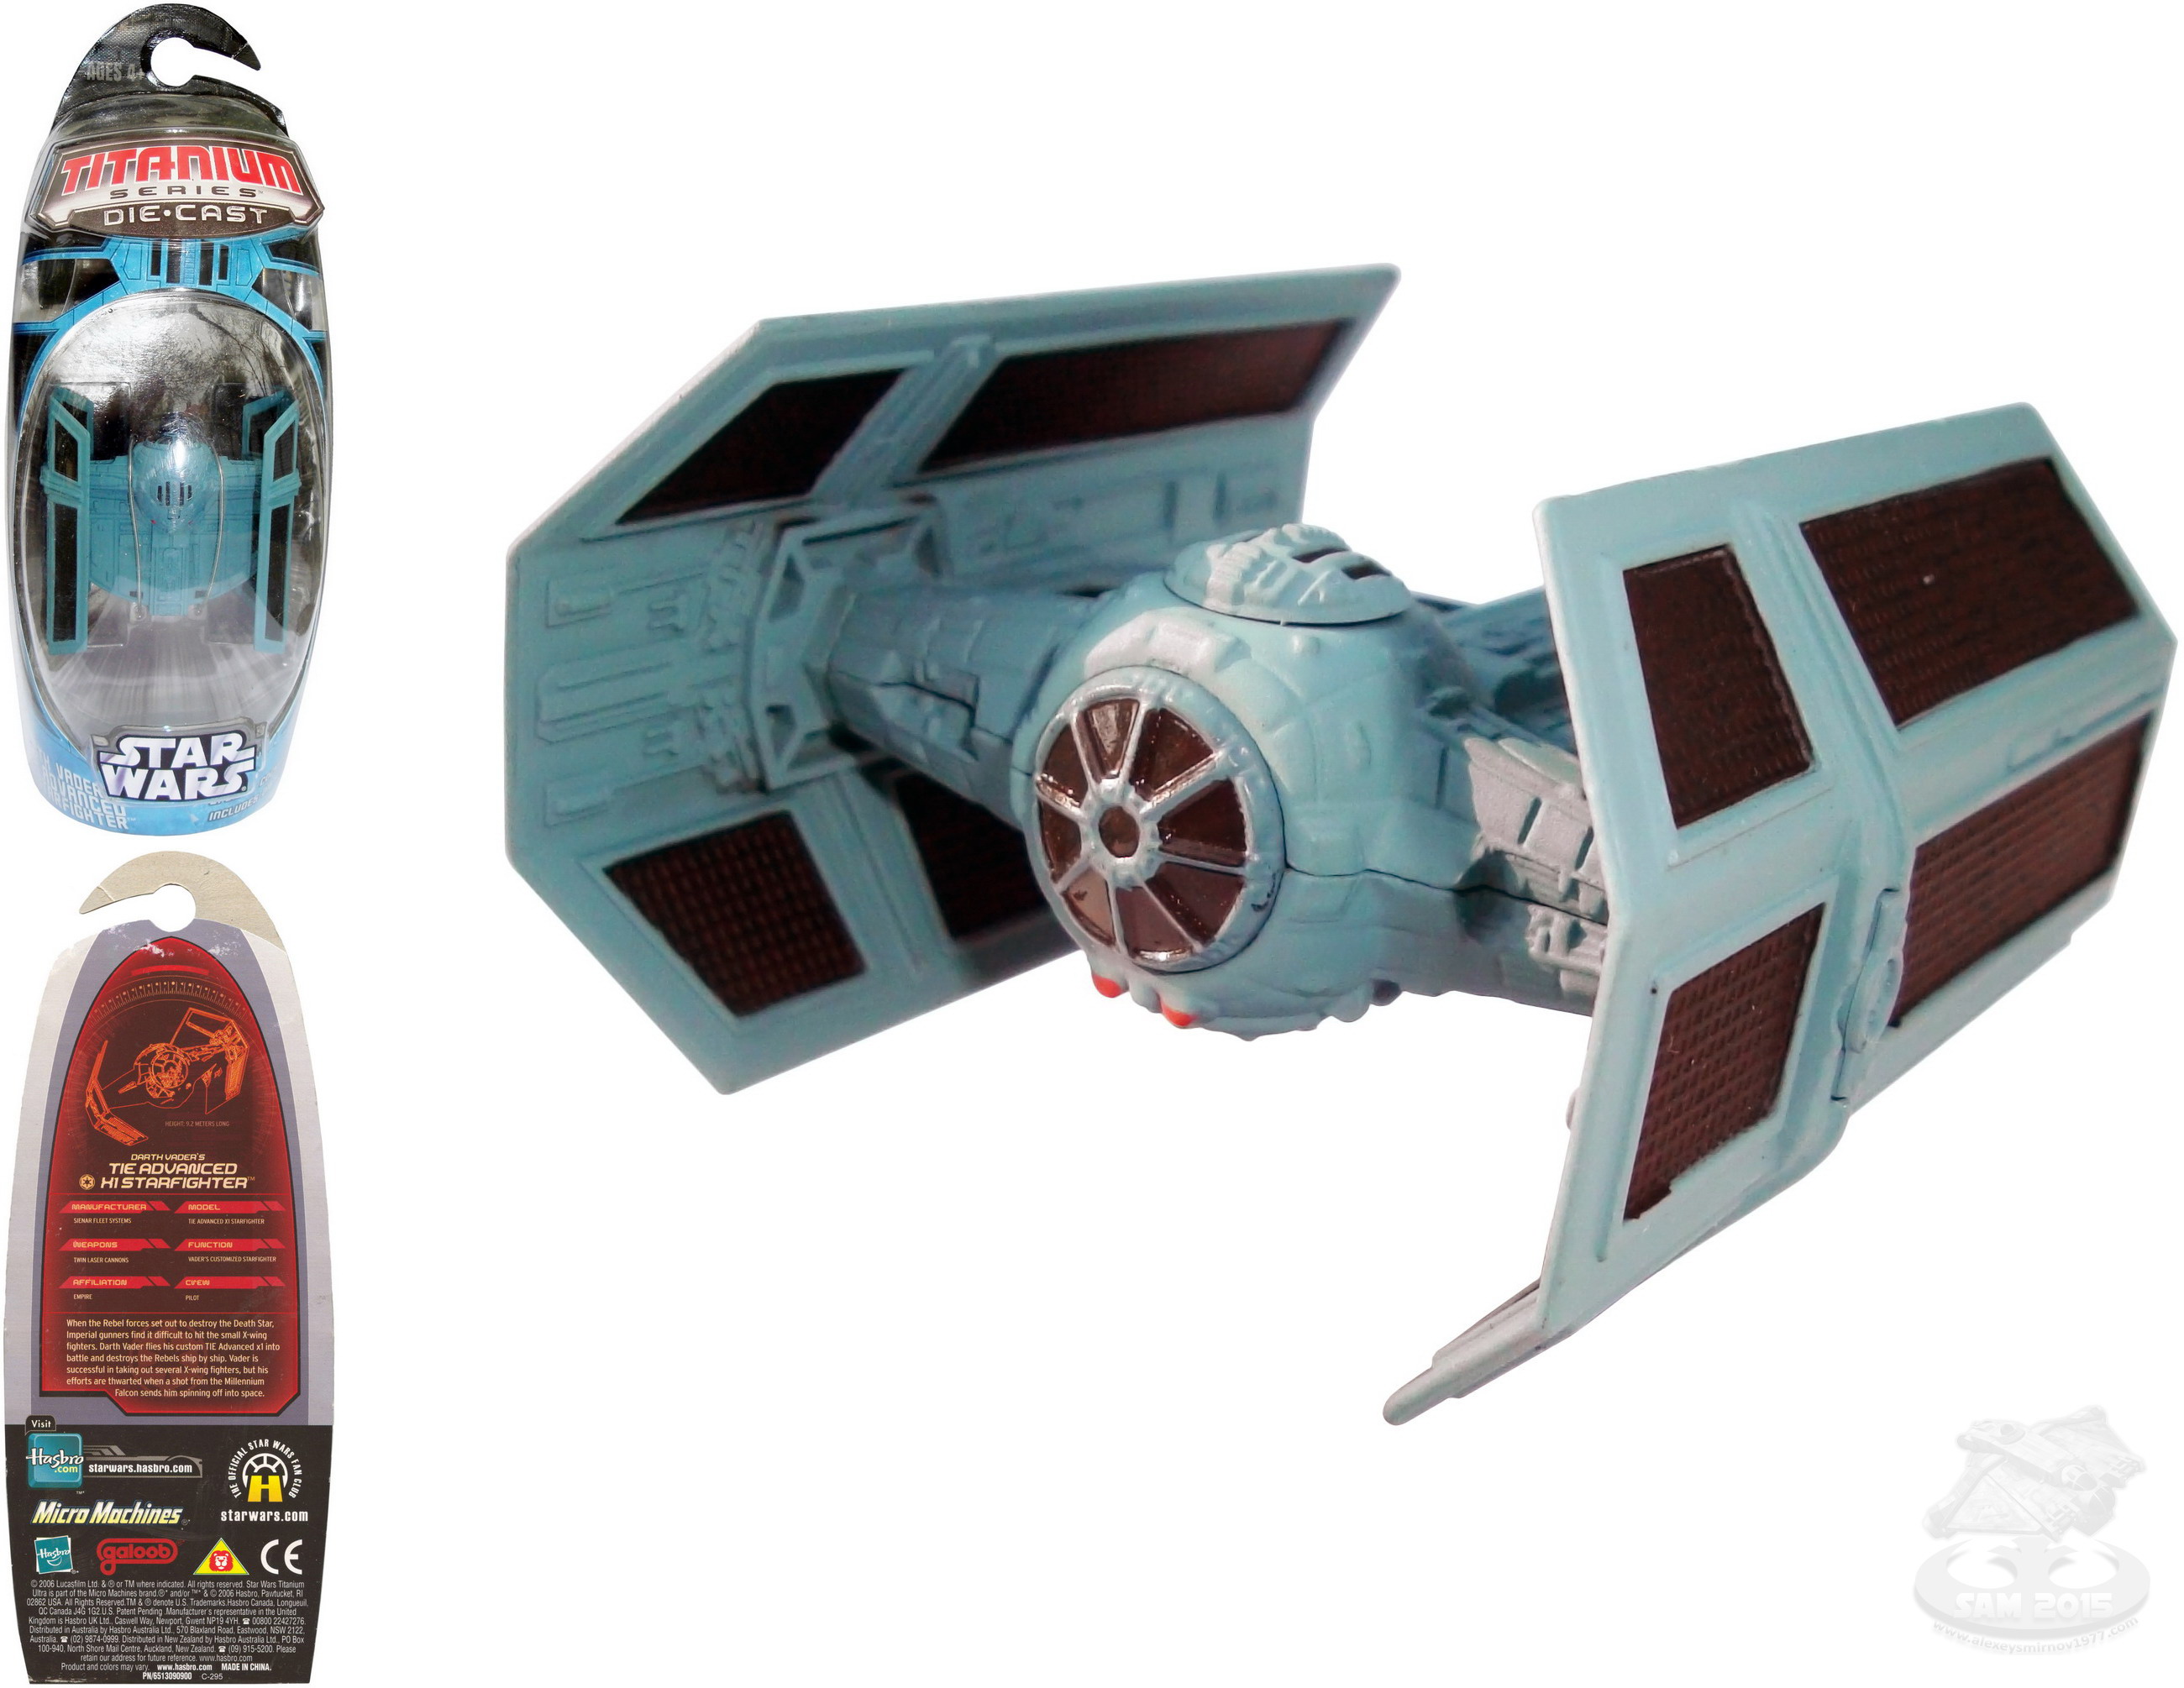
- Titanium (5)
- Hasbro Misc. (1)
- Power of the Force (2)
- Saga Collection (2)
- Power of the Jedi (2)
- The Original Trilogy Collection (2)
- The Vintage Collection (1)
- 30th Anniversary Collection (2)
- The Legacy Collection (1)
- The Black Series (4)
- XWM Pilots (7)
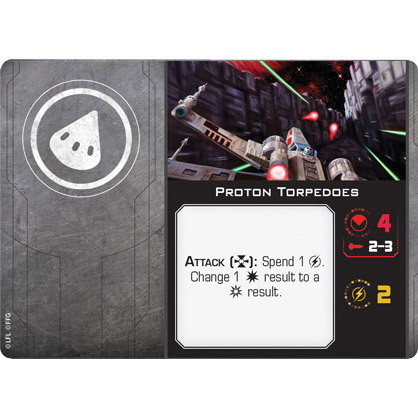
- XWM Cards (9)
- IA Deployments (1)
- IA Command (1)
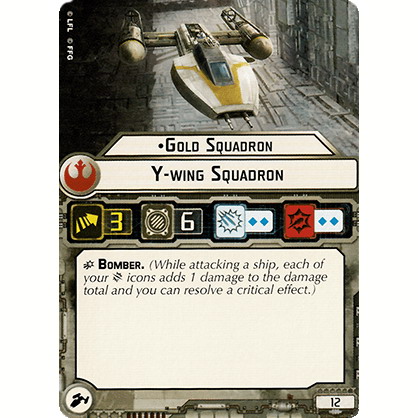
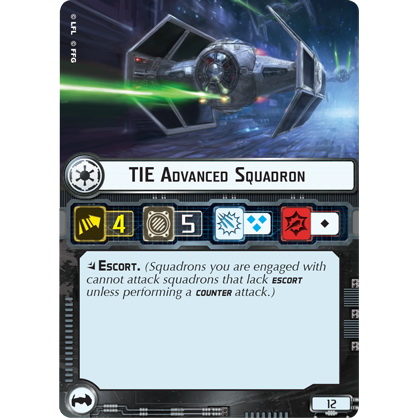
- Armada Pilots & Squadrons (3)
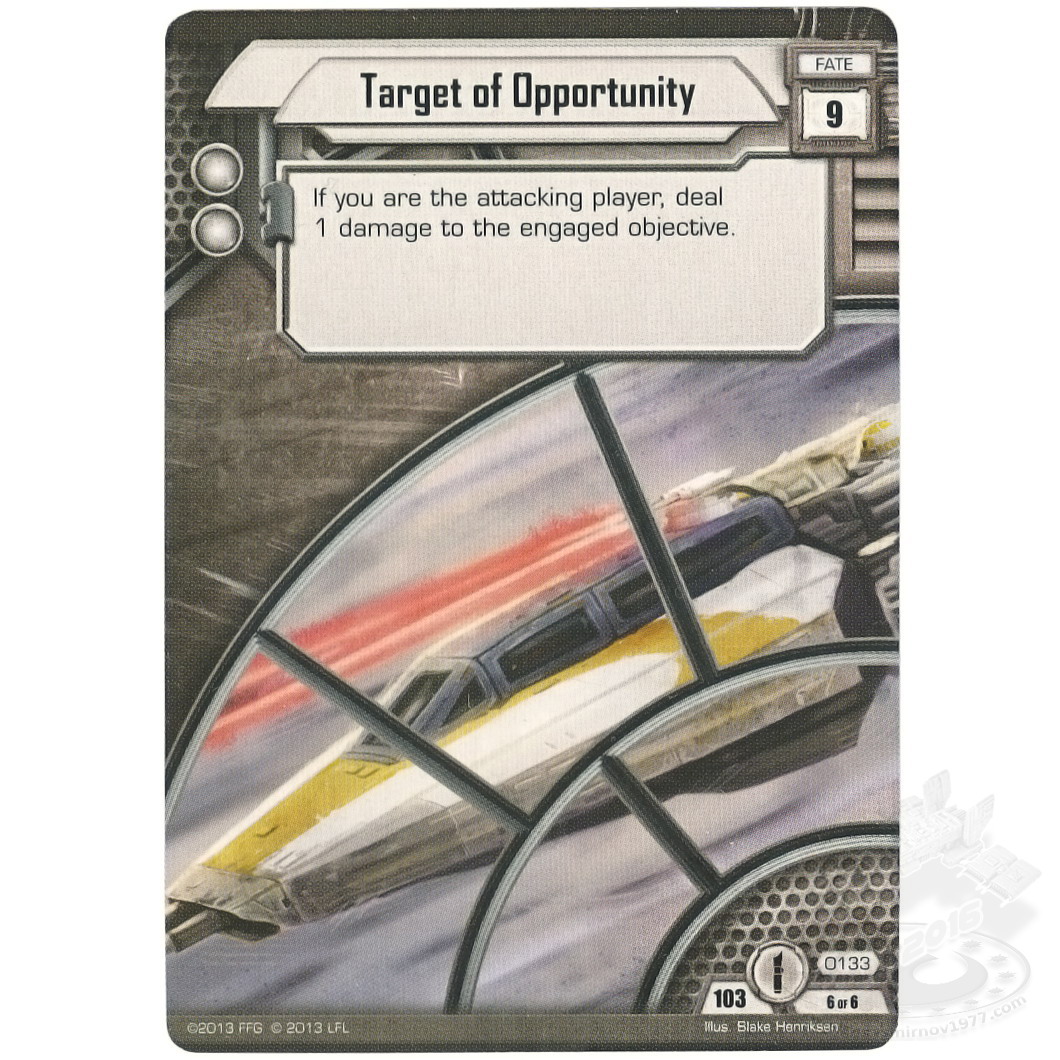
- TCG (11)
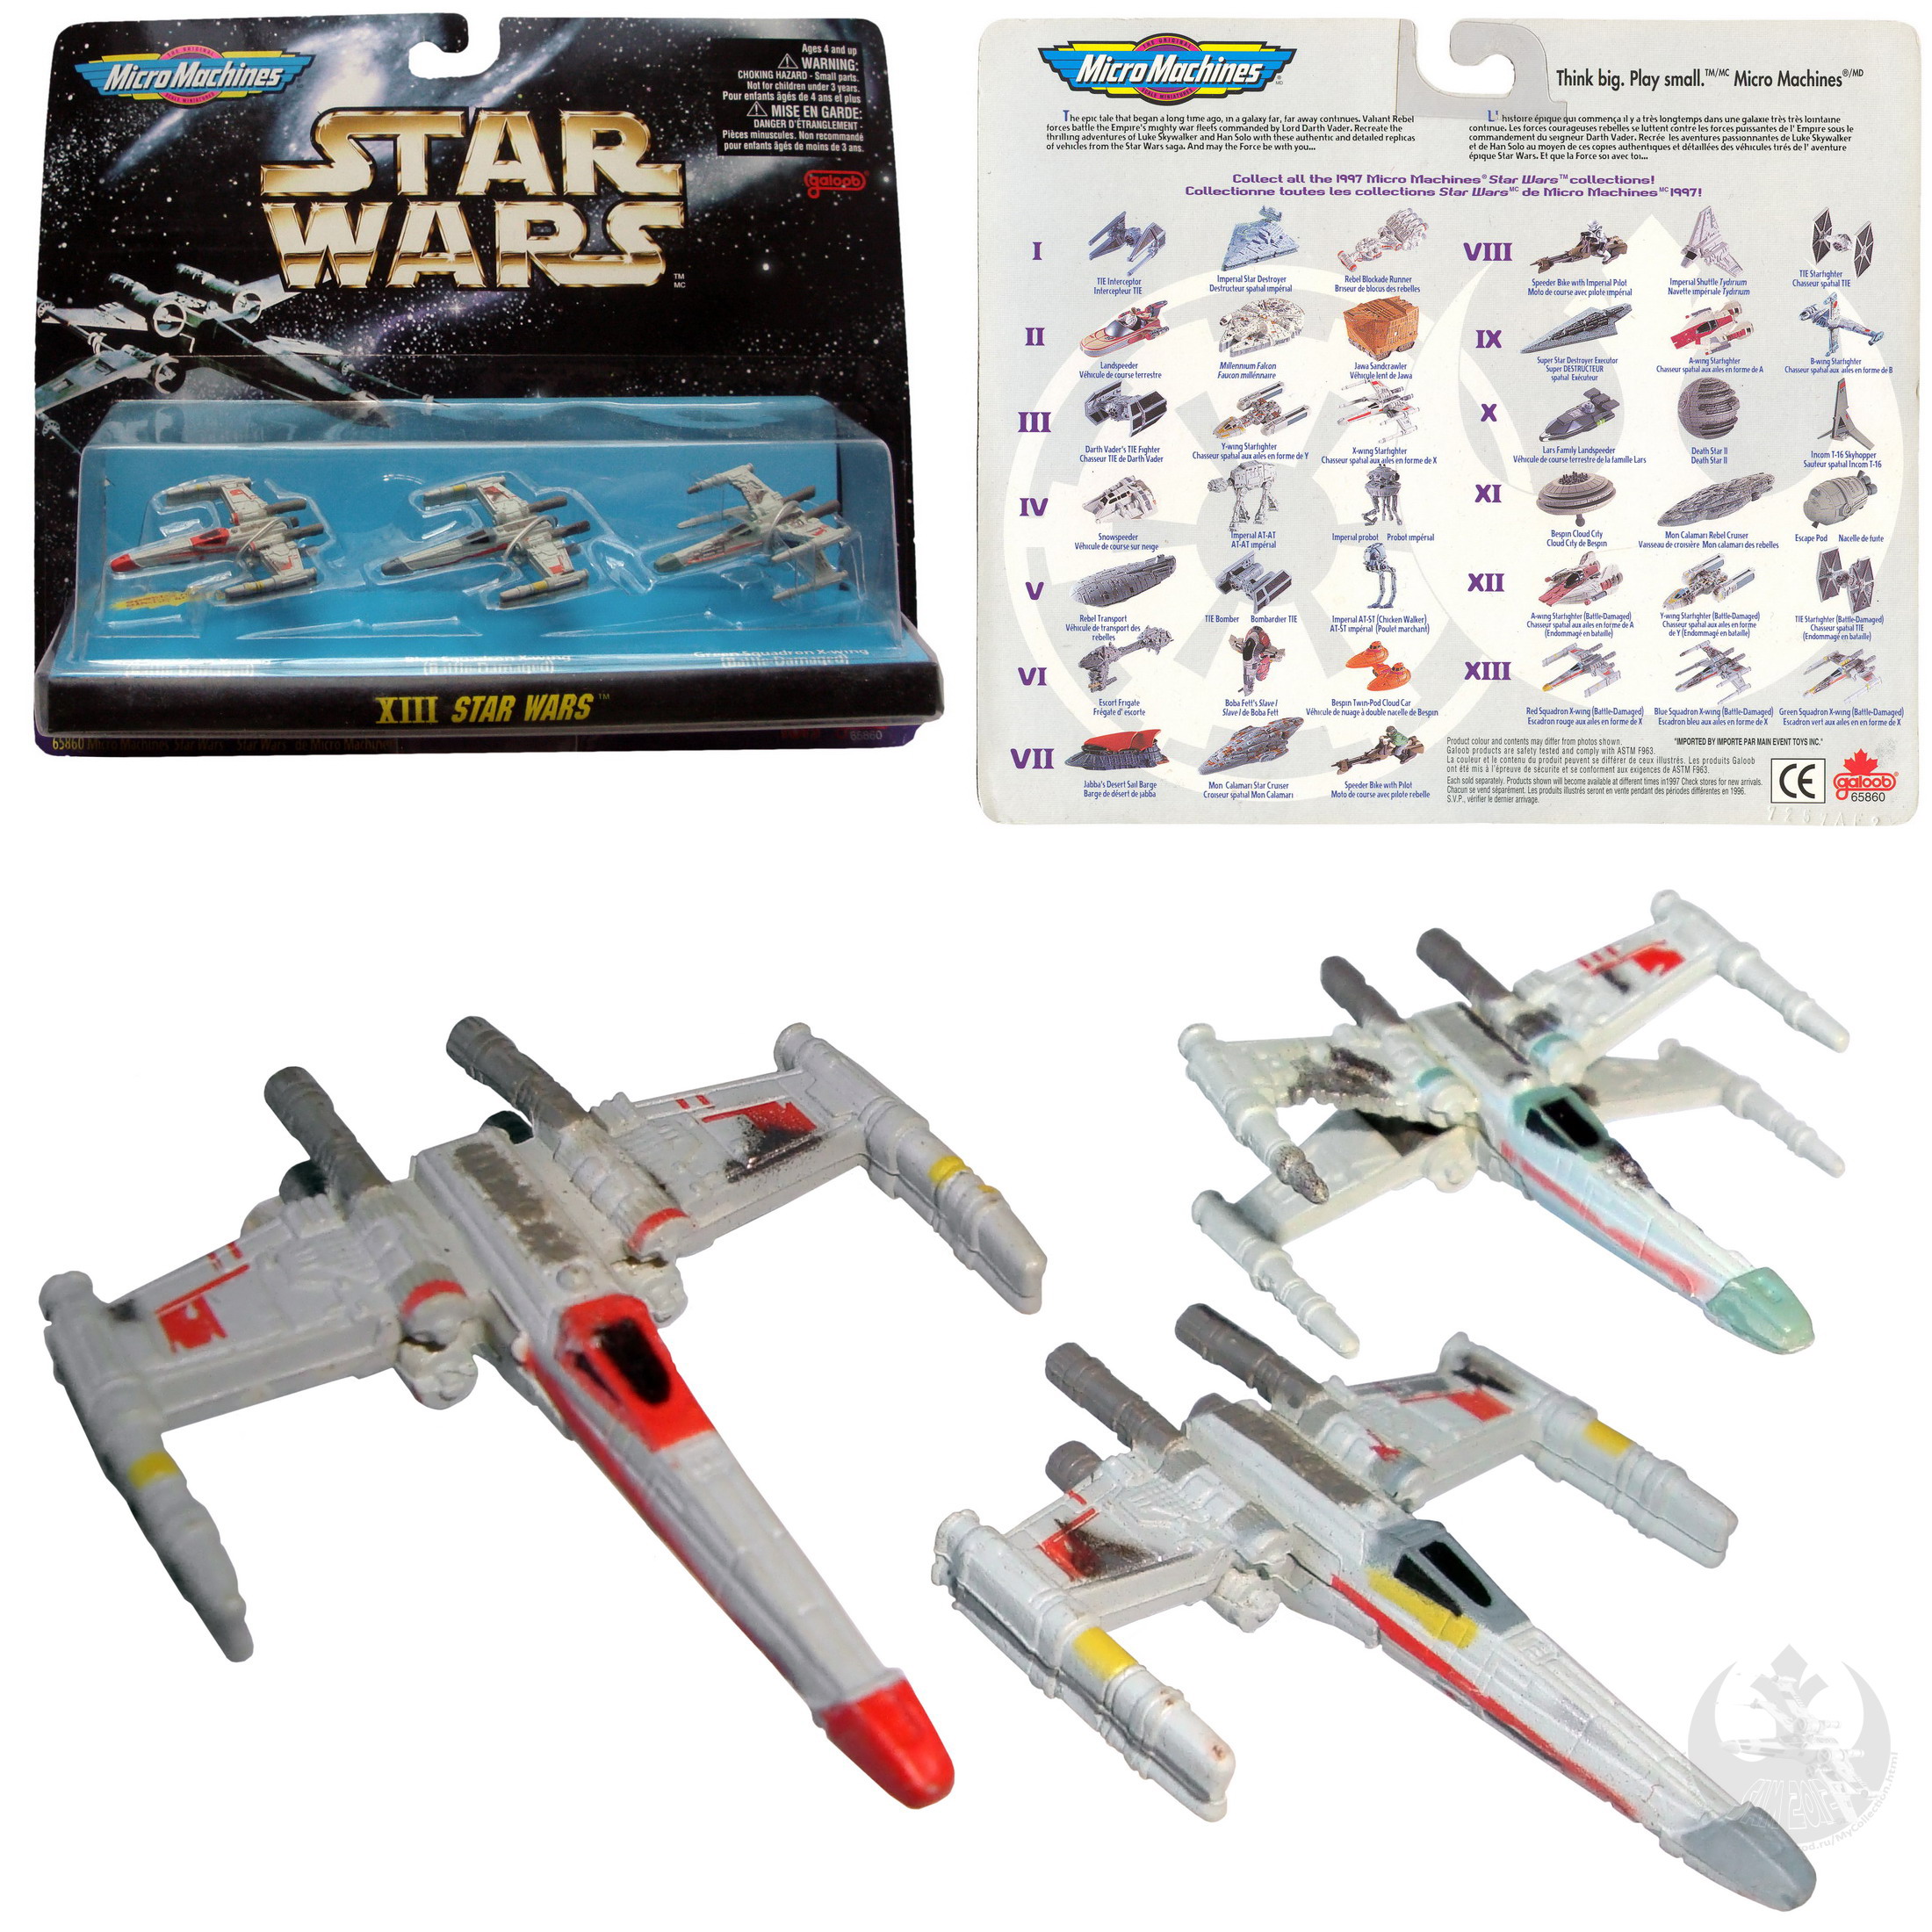
- Micro Machines (4)
Basic info
First appearance: A New Hope A New Hope(MOVIE) A New Hope(MOVIE) | |||||
Relations: Yavin Prime
| |||||


Known Facts (32)
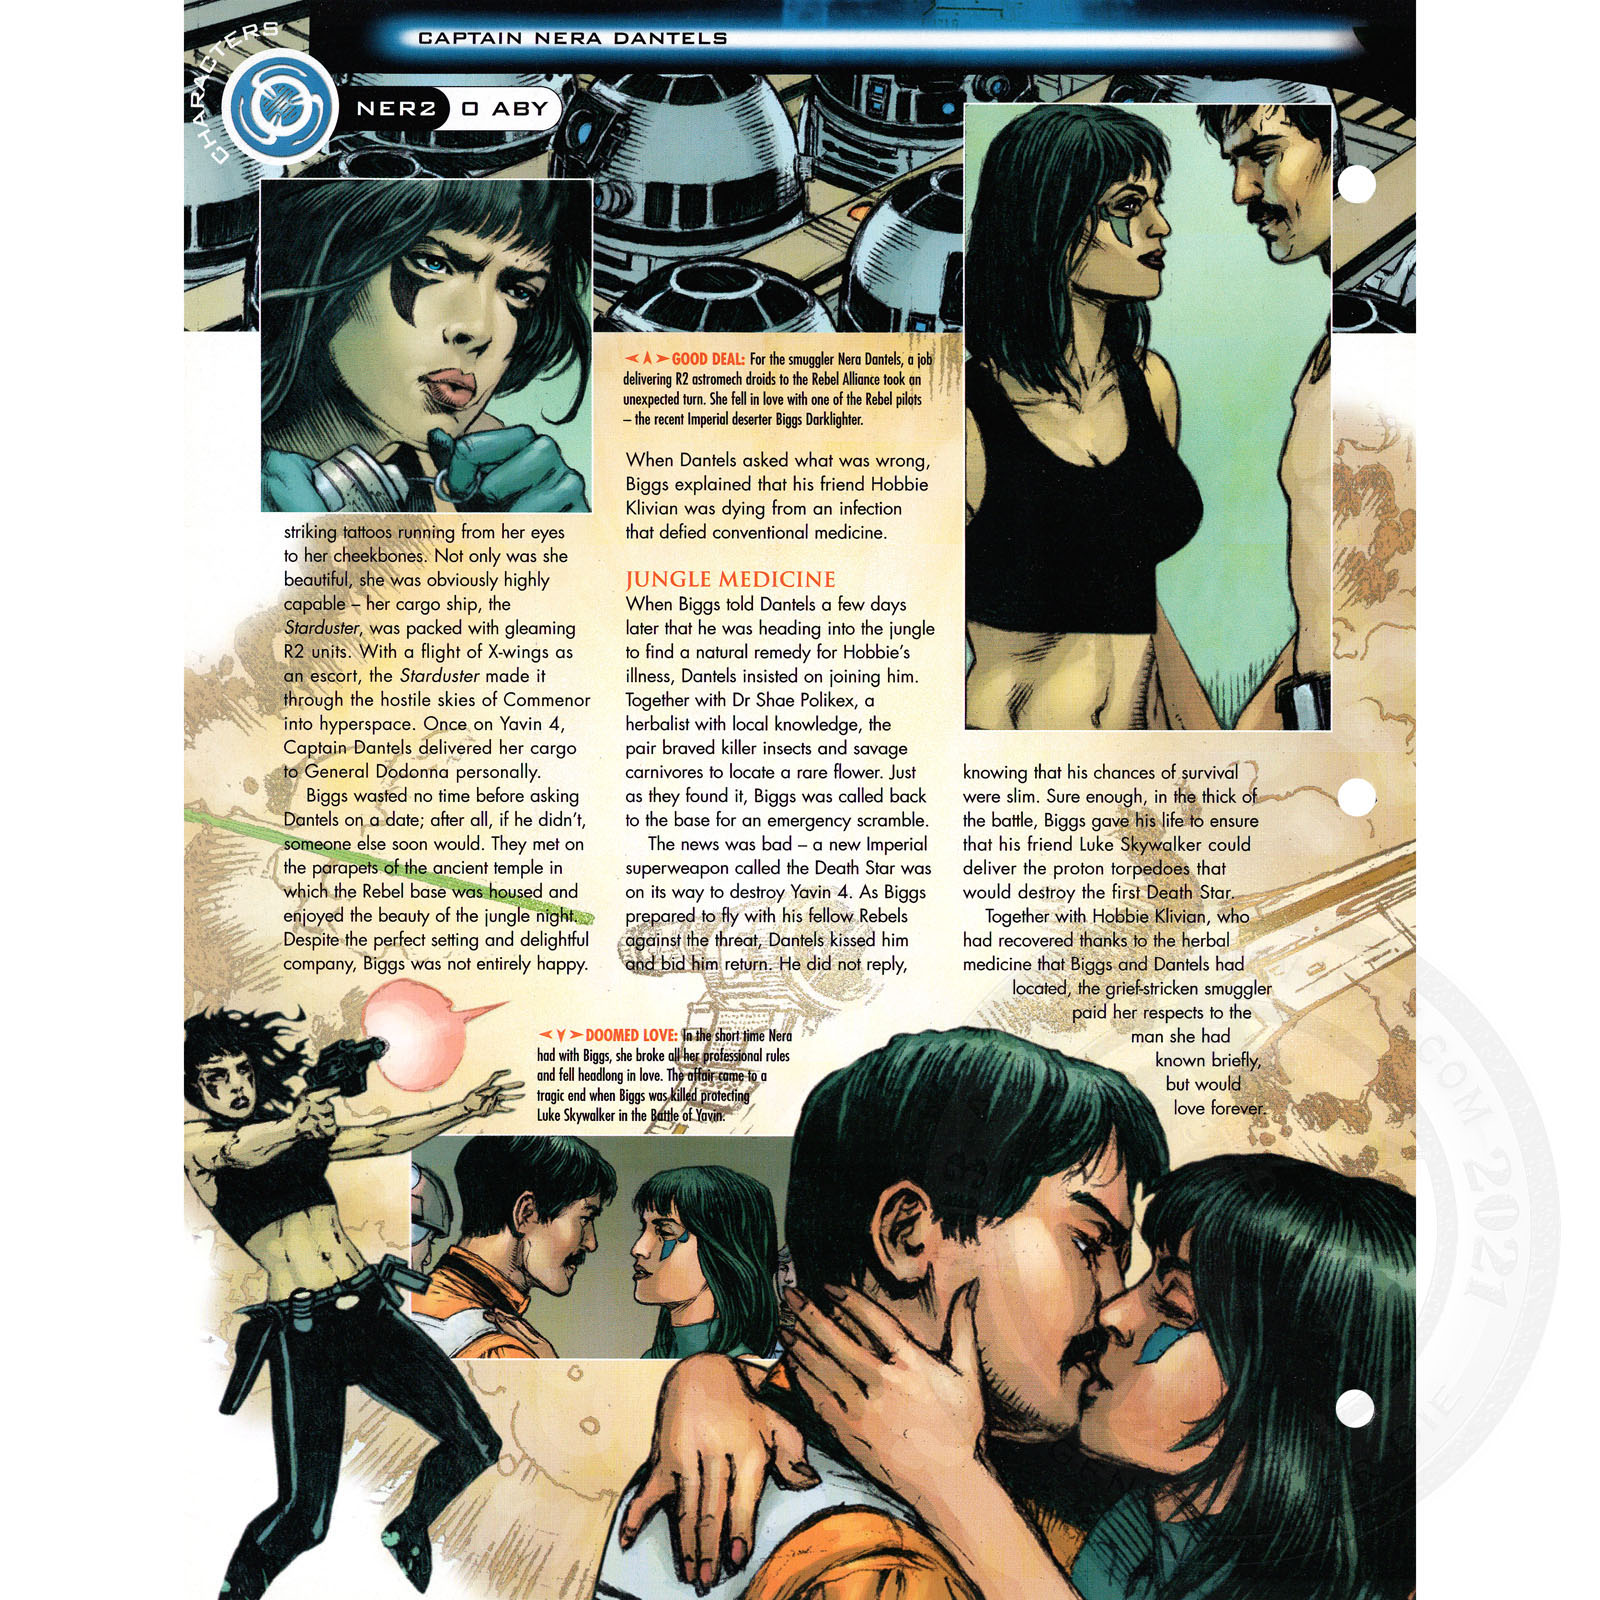
- Nera Dantels was located on Yavin IV
- Characters interacted with each other (dialog)
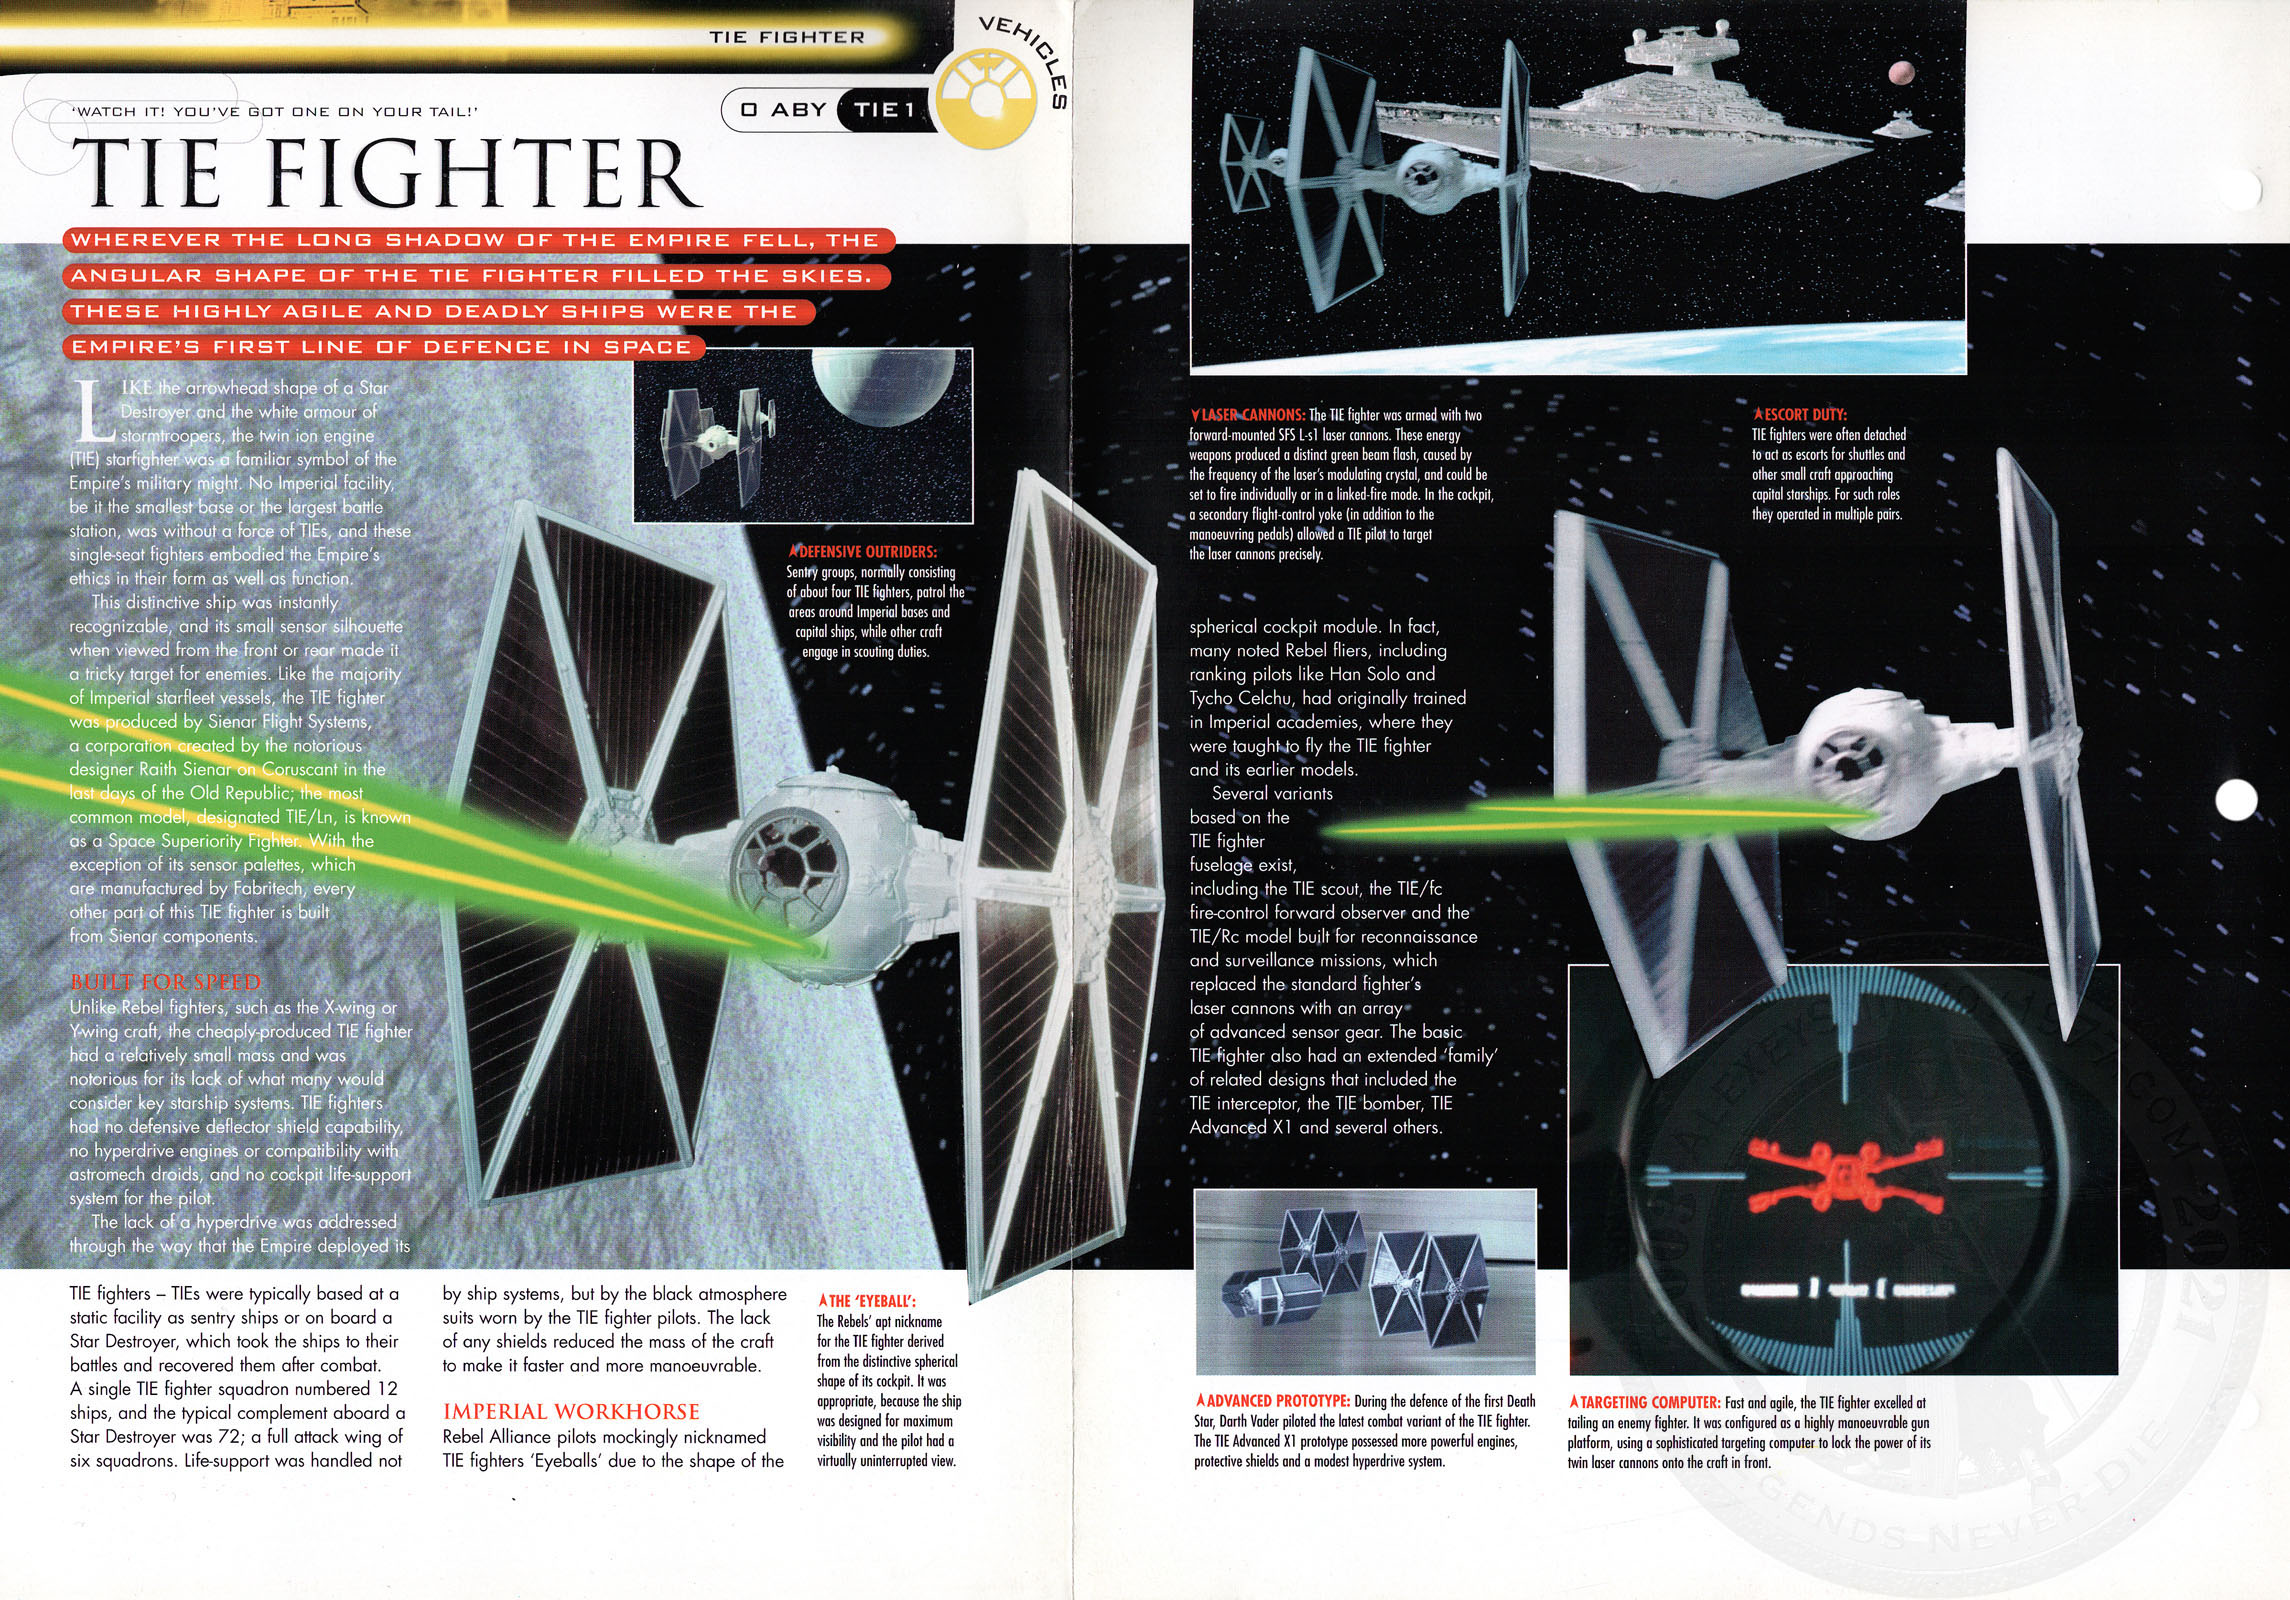
Dialog transcript Darth VaderSeveral fighters have broken off the main group. Come with me! - Darth Vader, Backstabber, "Mauler" Mithel
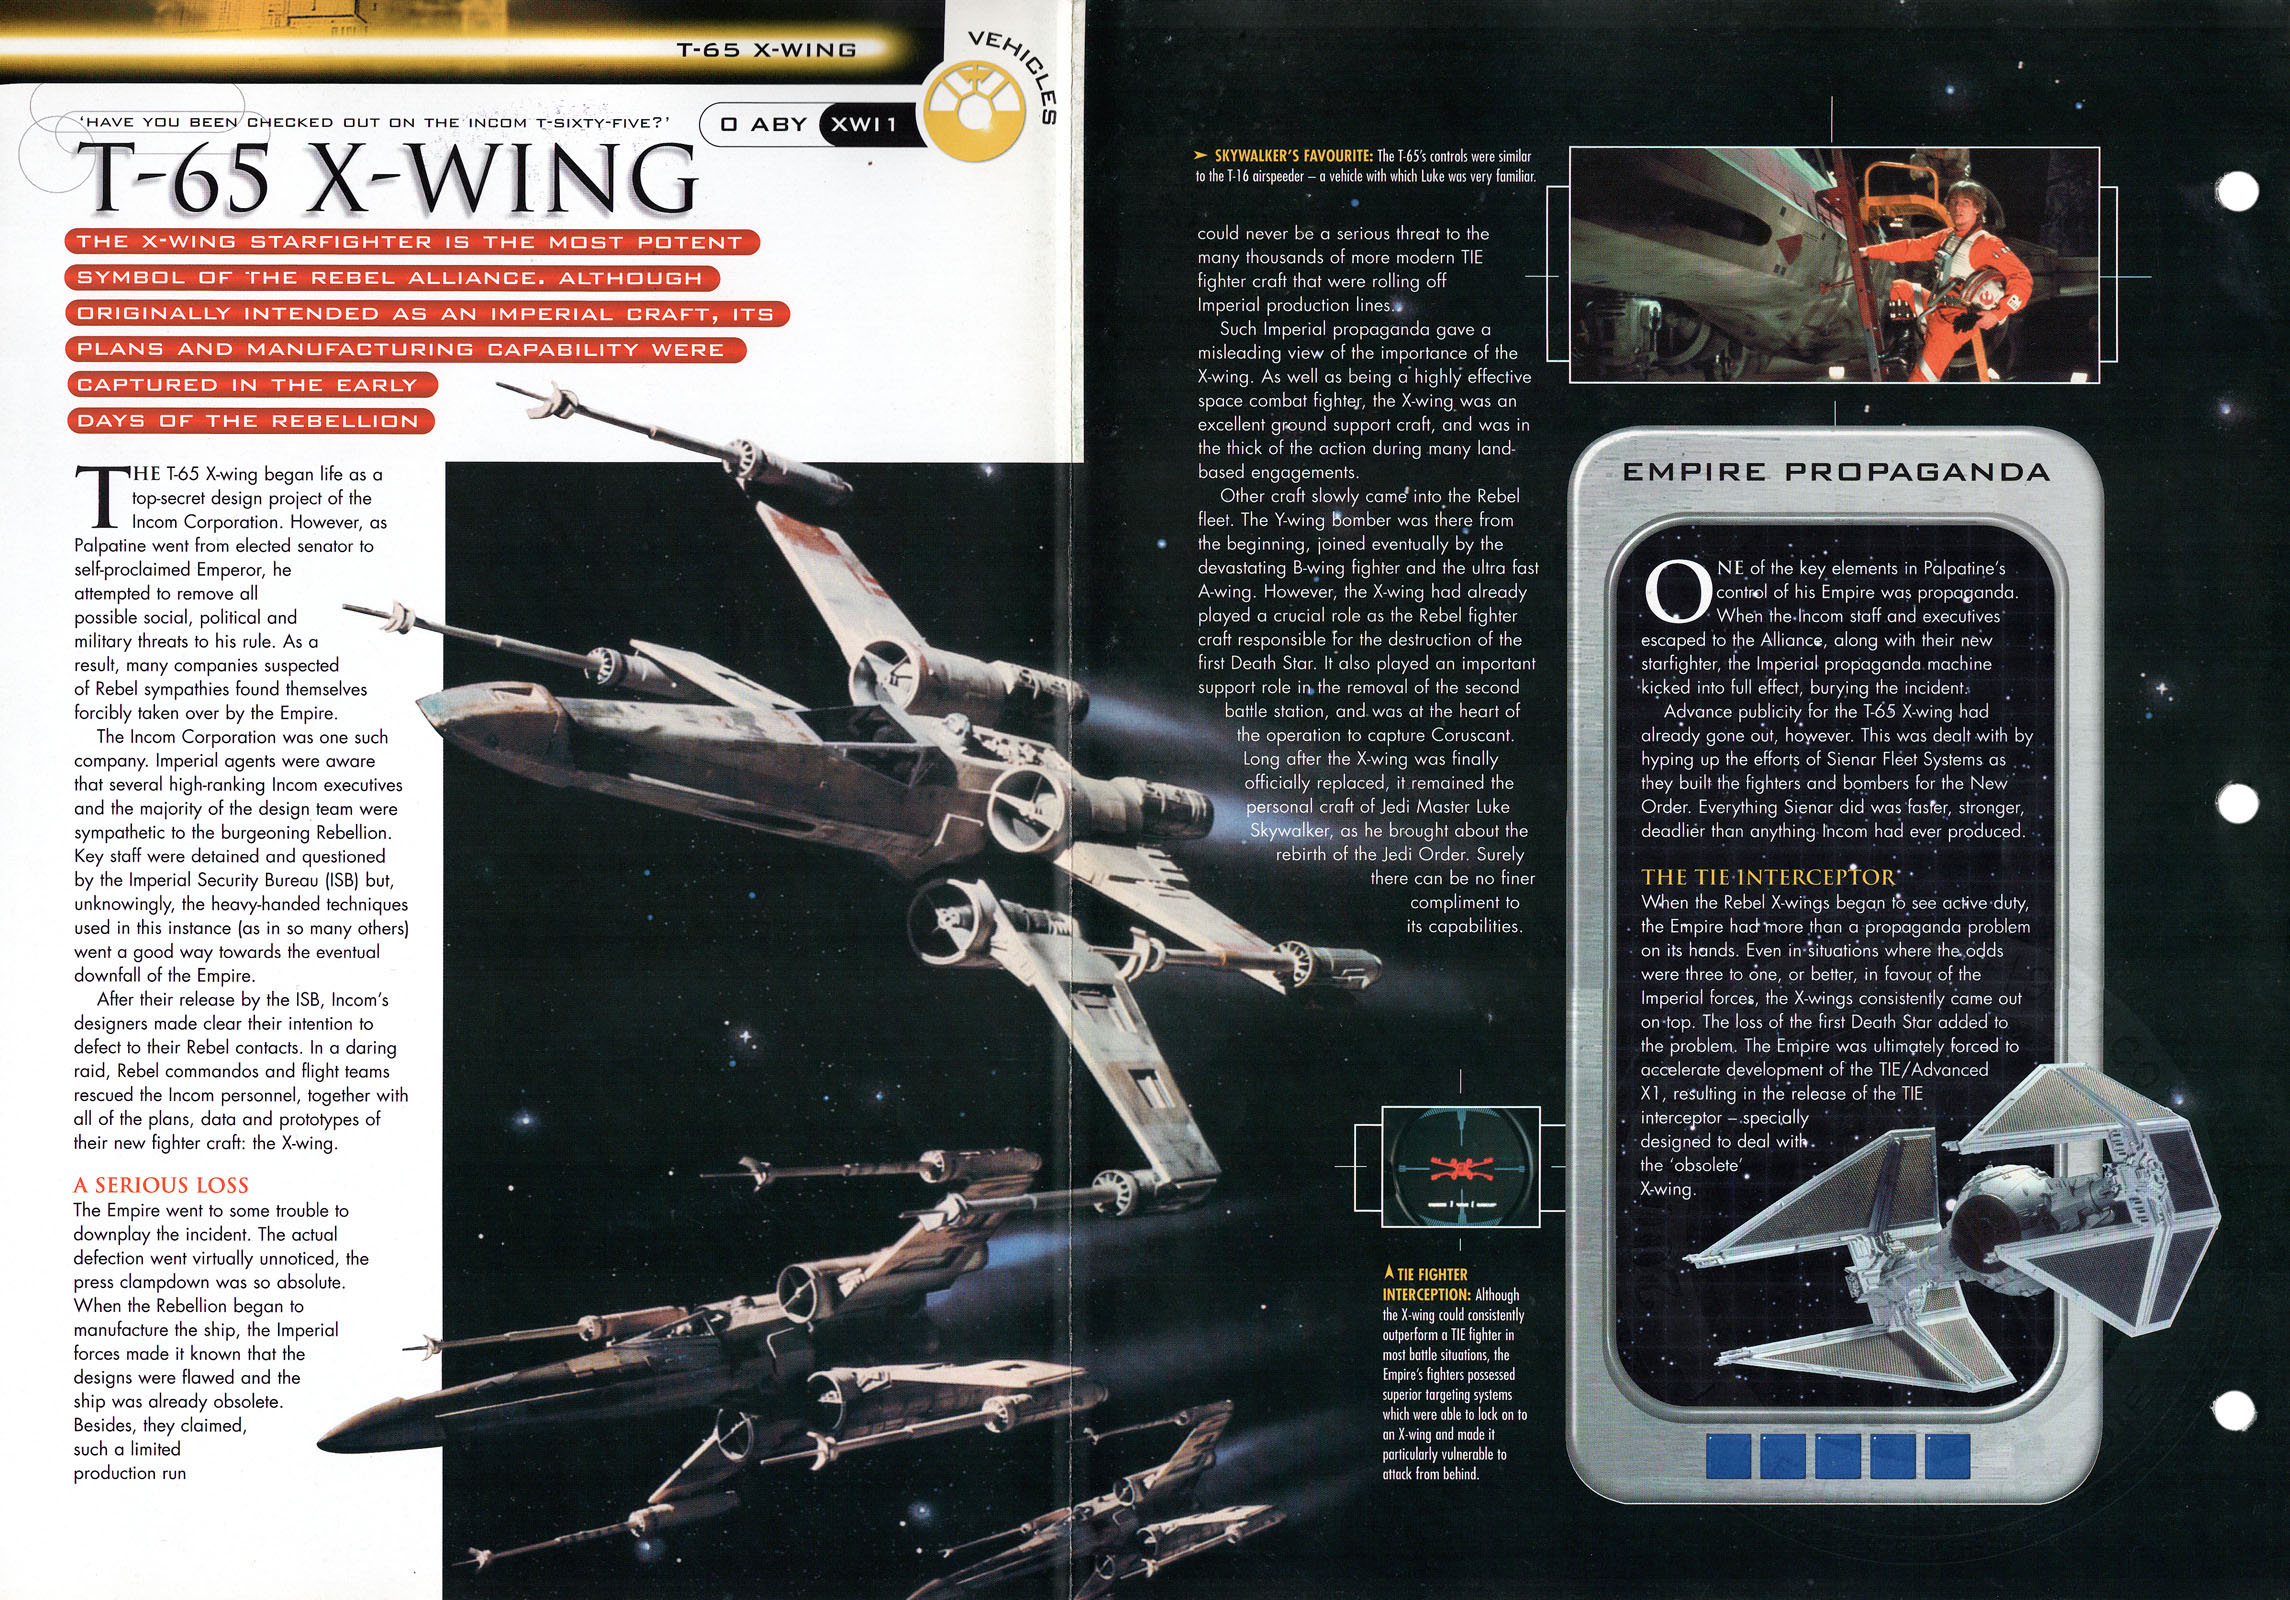
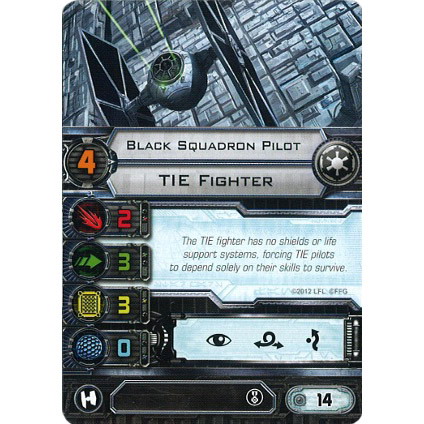
- T-65 X-Wing (Red 2Crew Wedge Antilles) destroyed TIE Fighter (Black 4Crew Dark Curse (DS-61-4))
- Dark Curse (DS-61-4) died when it was destroyed
- TIE Fighter destroyed T-65 X-Wing (Red 4Crew John D. Branon)
- John D. Branon died when it was destroyed
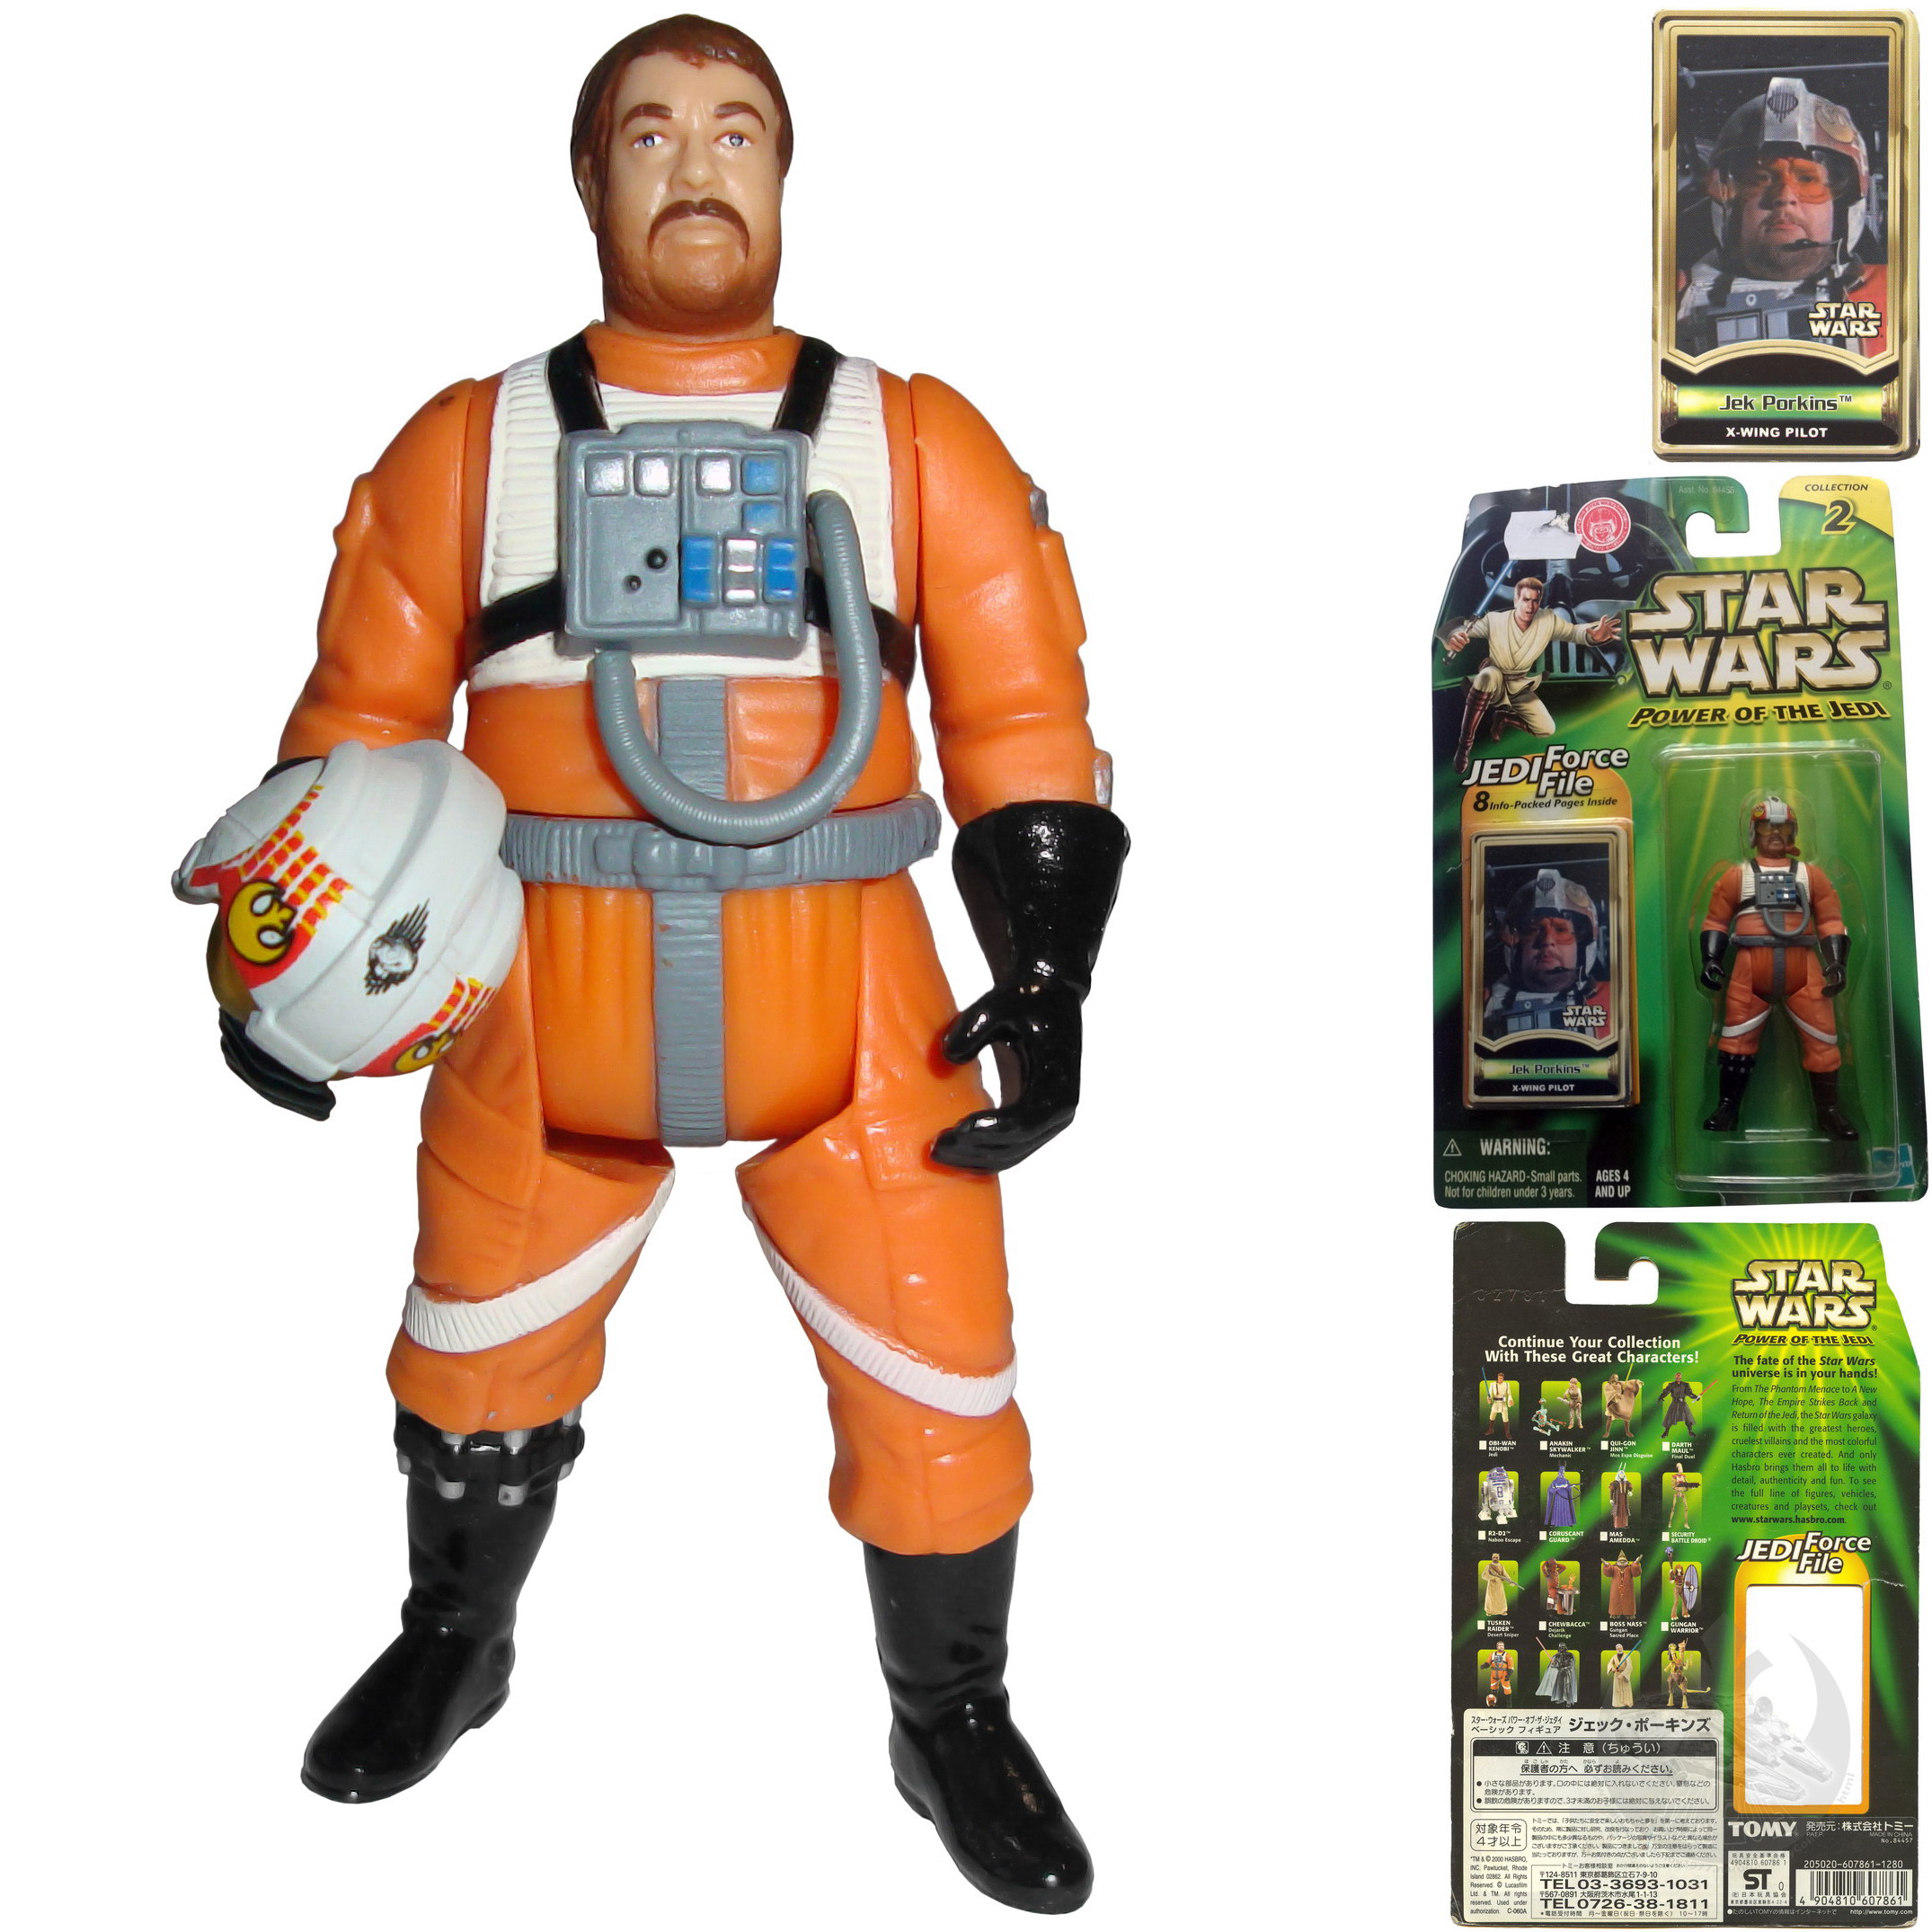
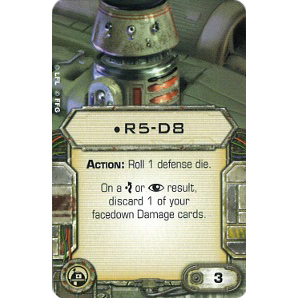
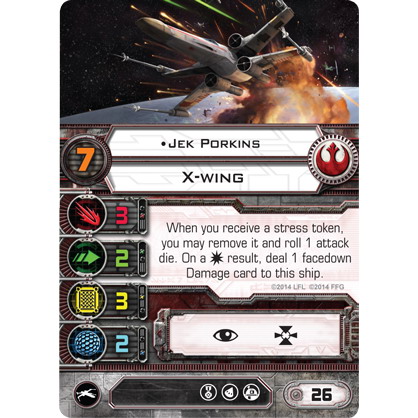
- Death Star destroyed T-65 X-Wing (Red 6Crew Jek PorkinsR5-D8 (Jek Porkins' Astromech Droid))
- Jek Porkins died when it was destroyed
- R5-D8 (Jek Porkins' Astromech Droid) died when it was destroyed
- BTL Y-Wing (Gold 3Crew Ryle Torsyn) was destroyed
- Ryle Torsyn died when it was destroyed
- Darth Vader killed Davish 'Pops' Krail
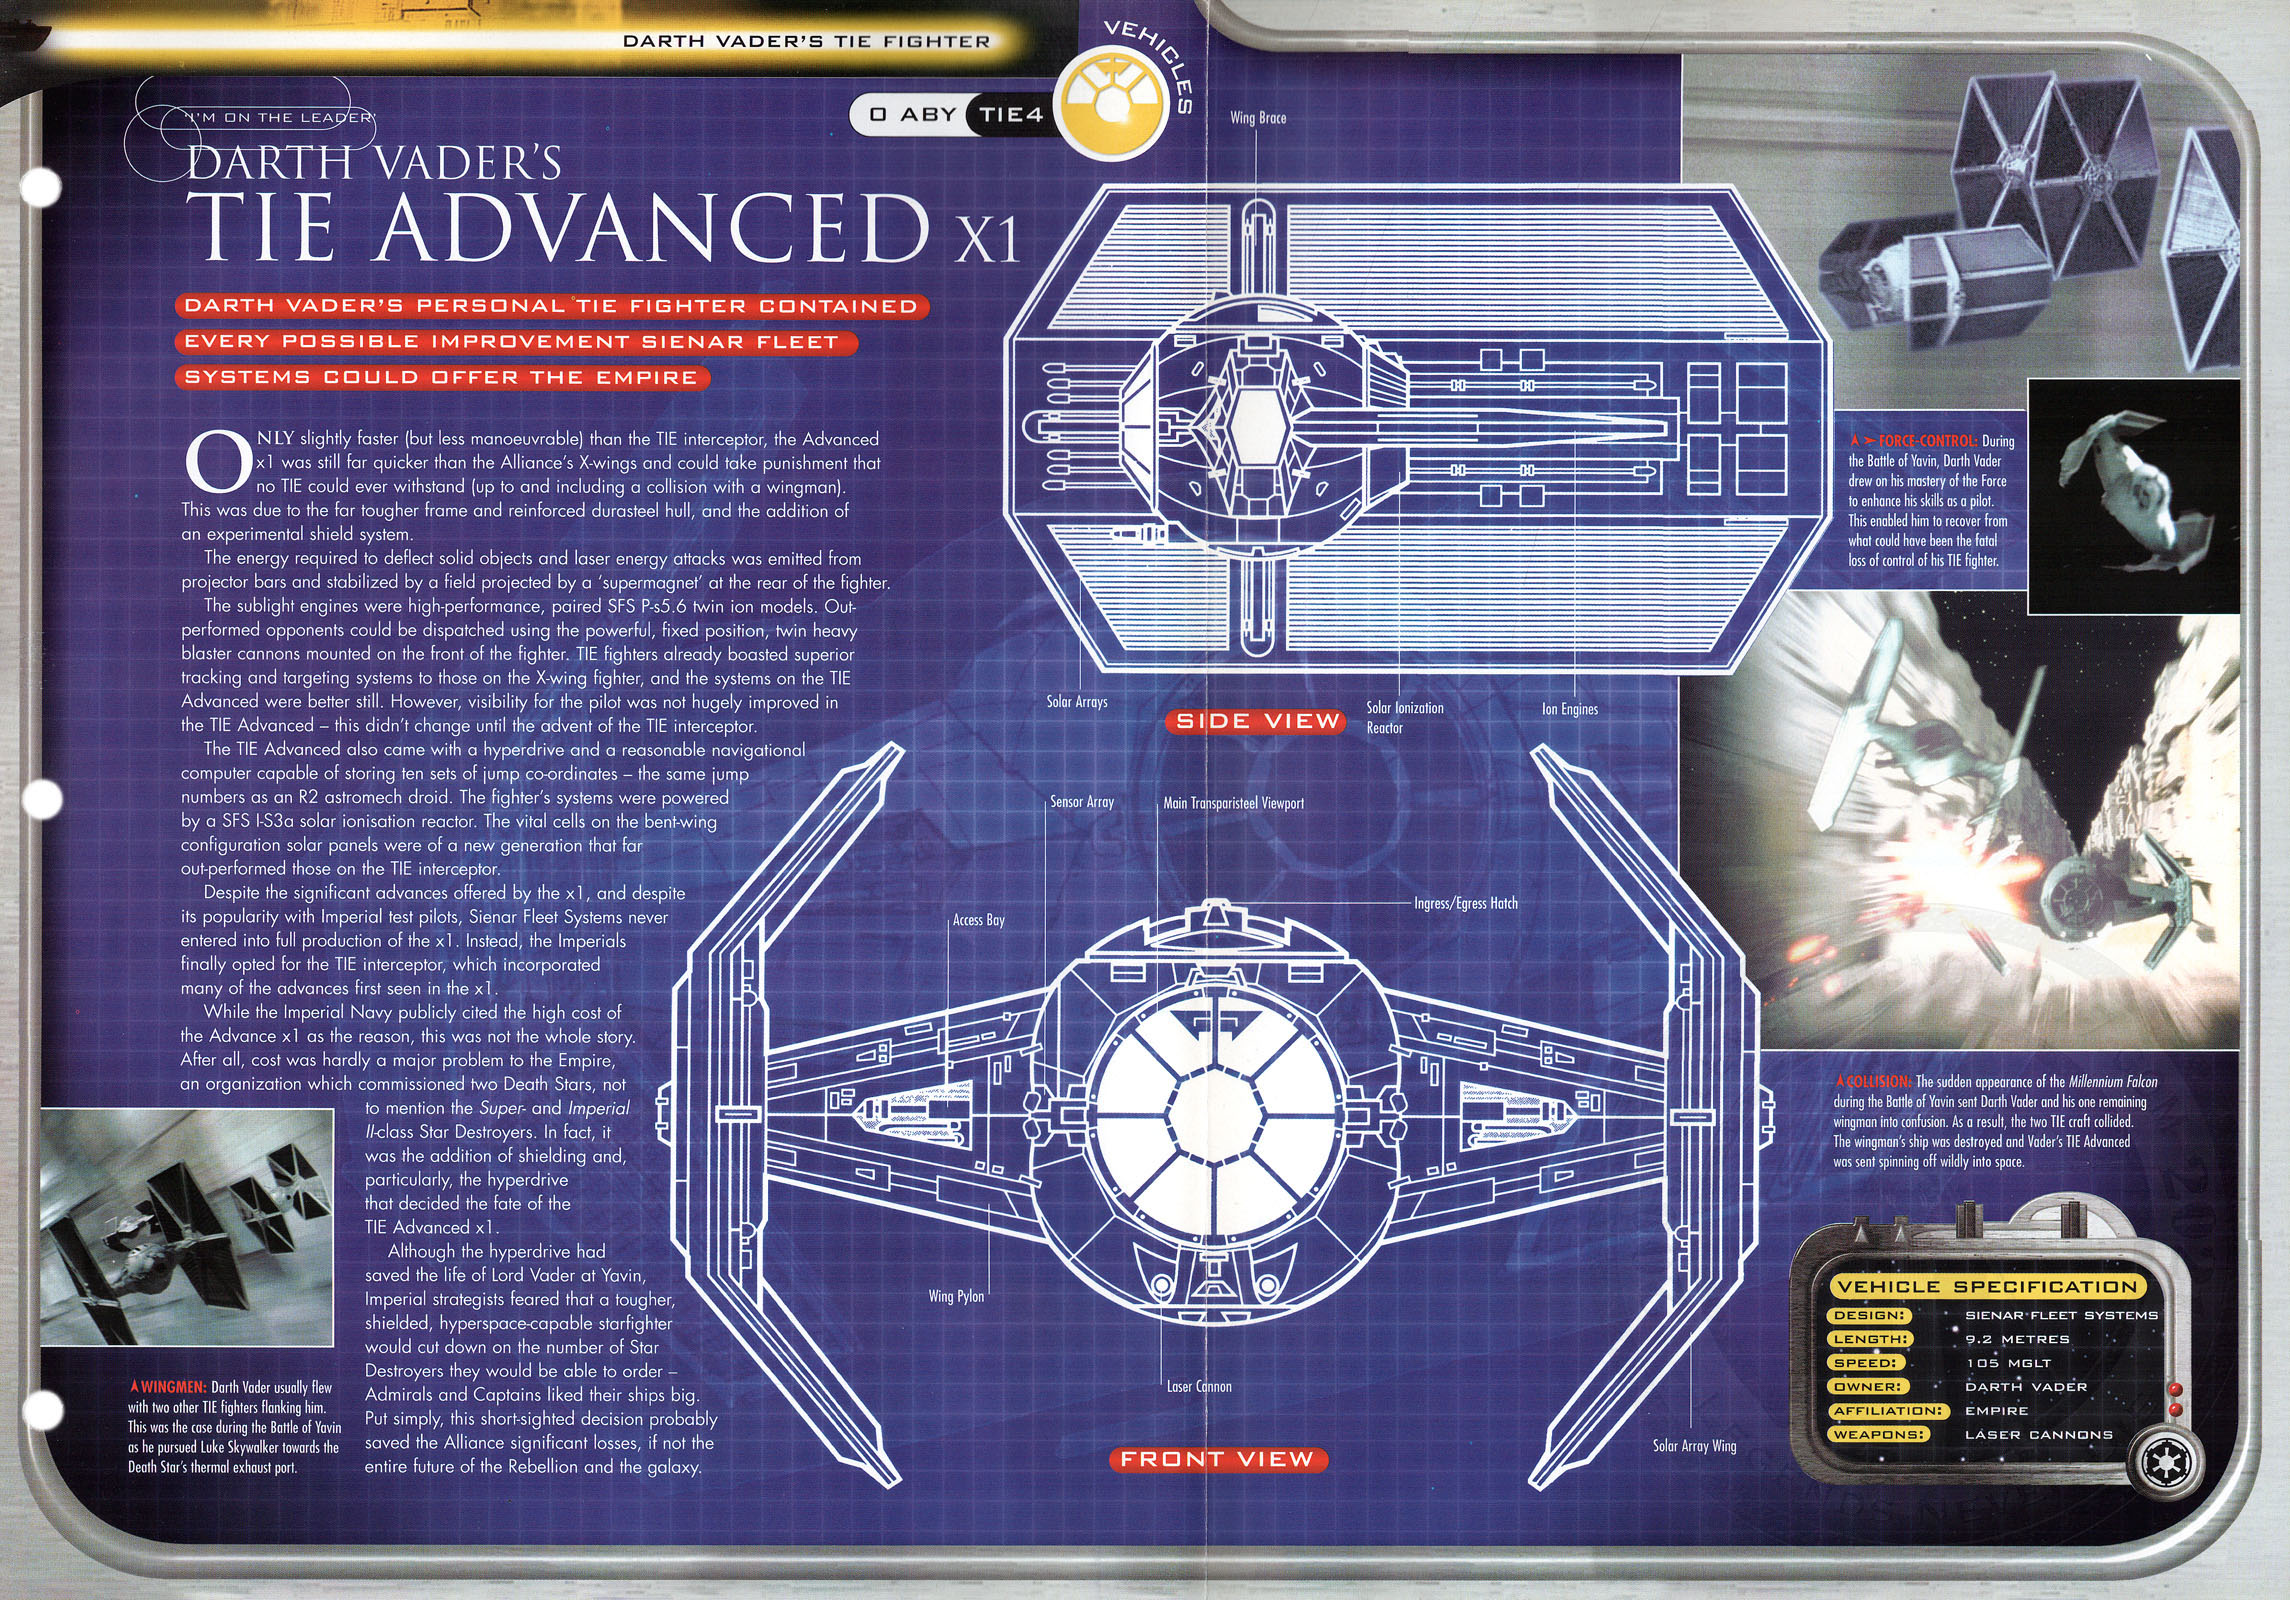
- TIE Advanced x1 (Black LeaderCrew Darth Vader) destroyed T-65 X-Wing (Red LeaderCrew Garven DreisR5-K6)
- Garven Dreis died when it was destroyed
- R5-K6 died when it was destroyed
- TIE Fighter (Black 3Crew Backstabber) attacked T-65 X-Wing (Red 2Crew Wedge Antilles)
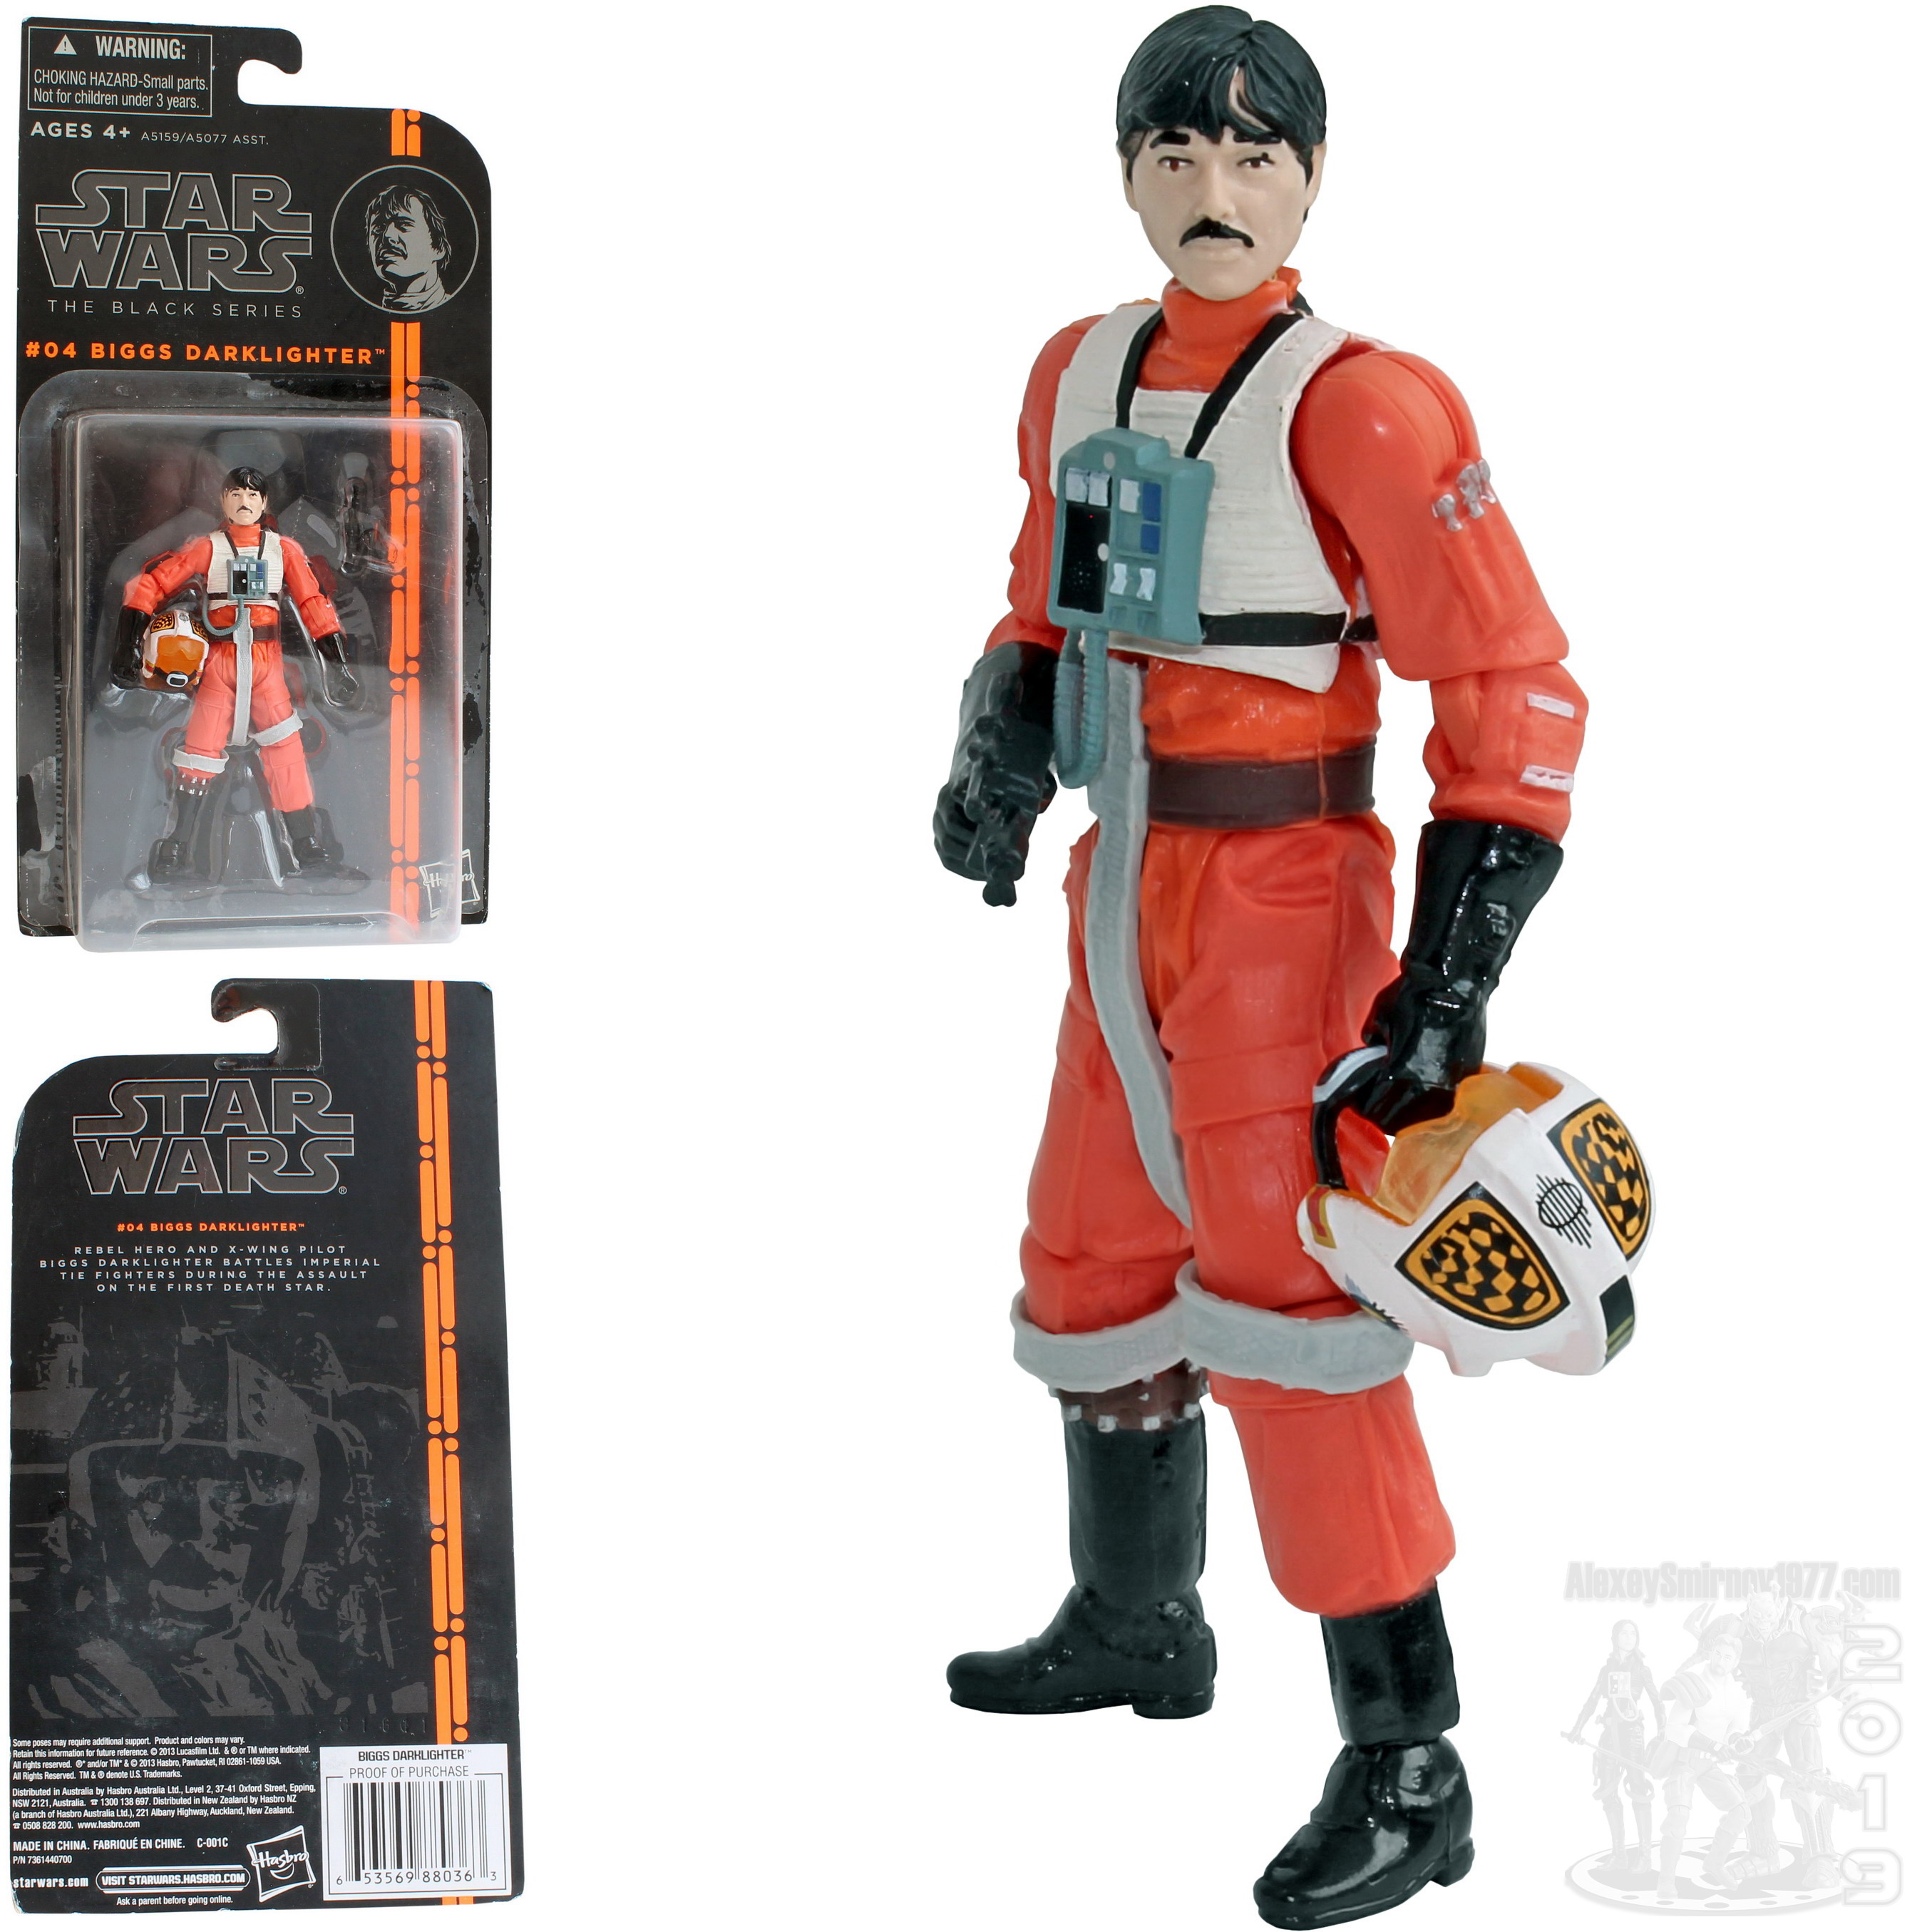
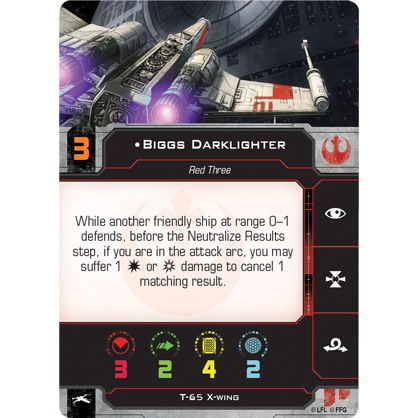
- TIE Advanced x1 (Black LeaderCrew Darth Vader) destroyed T-65 X-Wing (Red 3Crew Biggs DarklighterR2-F2)
- Biggs Darklighter died when it was destroyed
- R2-F2 died when it was destroyed
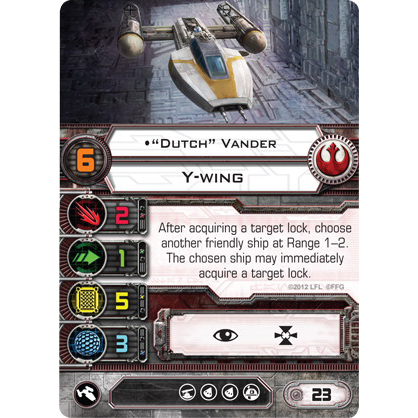
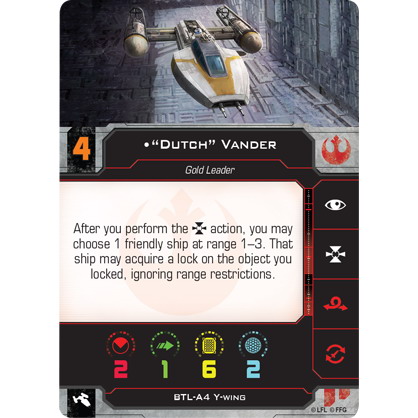
- TIE Advanced x1 (Black LeaderCrew Darth Vader) destroyed BTL Y-Wing (Gold LeaderCrew Jon 'Dutch' Vander)
- Jon 'Dutch' Vander died when it was destroyed
- TIE Advanced x1 (Black LeaderCrew Darth Vader) attacked T-65 X-Wing (Red 5Crew Luke SkywalkerR2-D2)
- R2-D2 was wounded when it was attacked
- Millennium Falcon destroyed TIE Fighter (Black 3Crew Backstabber)
- Backstabber died when it was destroyed
- TIE Fighter (Black 2Crew "Mauler" Mithel) was destroyed
- "Mauler" Mithel died when it was destroyed
- T-65 X-Wing (Red 5Crew Luke SkywalkerR2-D2) destroyed Death Star
- Cassio Tagge died when it was destroyed
- Wilhuff Tarkin died when it was destroyed
- Motti died when it was destroyed
- Wullf Yularen died when it was destroyed
Summary
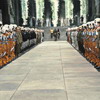
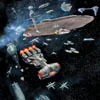
The Battle of Yavin was a major battle of the Galactic Civil War that led to the destruction of the first Death Star
|
||||||||||||||||||||||||||||||||||||||||||||||||||||


.jpg)
.jpg)


.jpg)
Related organizations


.jpg)
.jpg)


Related units, characters and other technologies


.jpg)


.jpg)


Miscellaneous

.jpg)
.jpg)

Complete list


Full unit name: Battle of Yavin Last updated: 30.07.2024 20:56:16